How to Personalise Digital Invitations with Names and Dates
Names and dates are the parts guests check twice, so this guide shows how to write them clearly, honour both families, and avoid the small errors that cause the most confusion.
In short
Write names exactly as each family uses them, and write dates in words as well as numbers.
List every event with its own date, time and venue, so no guest has to guess.
Check the final invitation on a phone with both families before sharing it widely.
What it means
Personalising a digital invitation means making it yours in the details that matter. The couple names, the parents names, the event names, the dates, the venues, and the words of welcome. A beautiful design with a wrong date is a failed invitation. A simple design with every detail correct feels thoughtful and trustworthy. Personalisation also means tone. A formal family may want full names and traditional wording. A close circle of friends may want warmth and humour. The invitation should sound like the people sending it.
What your invitation can do
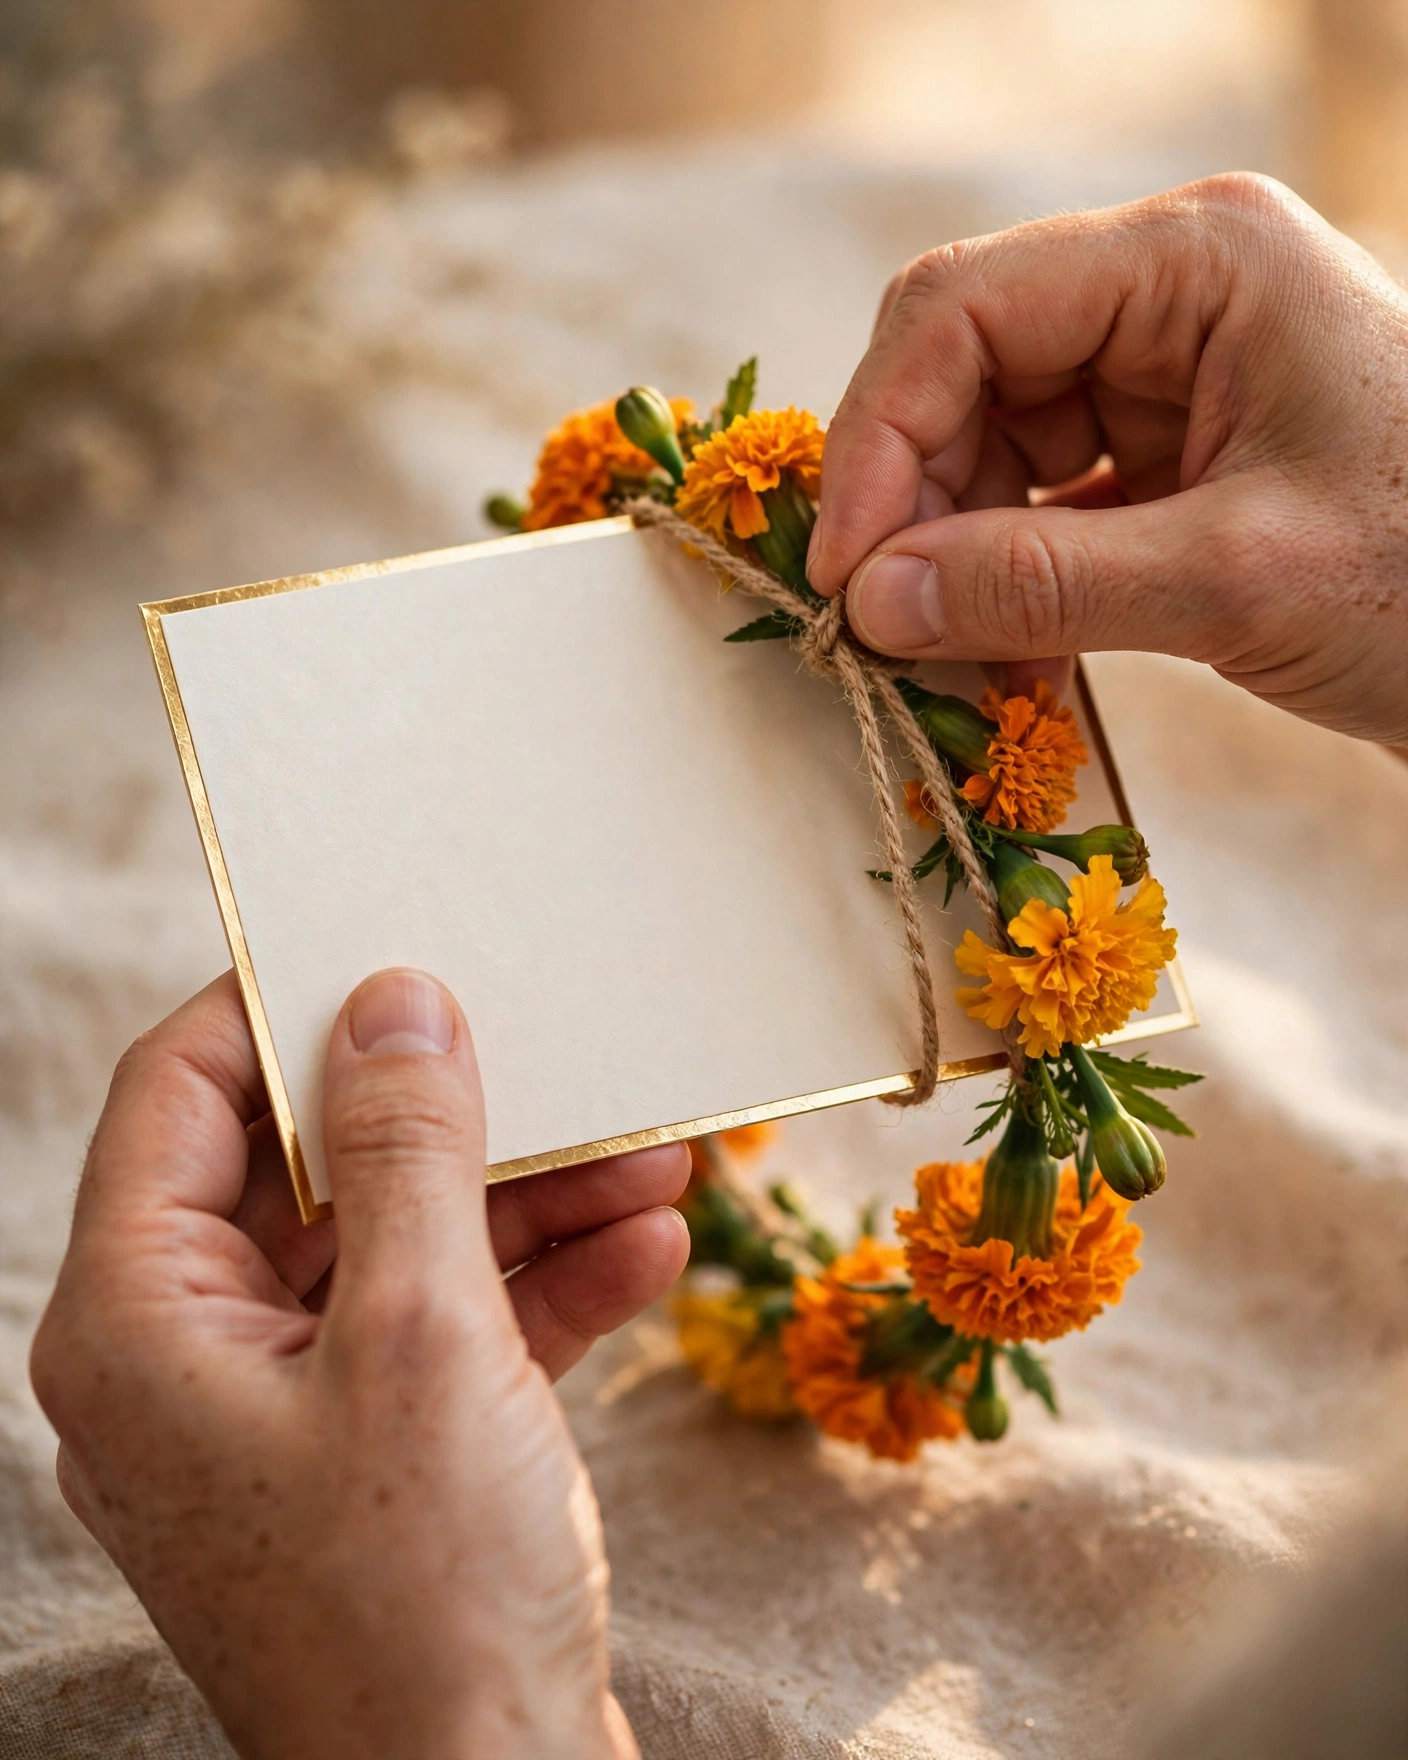
- Couple and family names placed with care, in the order your families prefer.
- A full event schedule, each ceremony with its date, time and venue.
- Personal photos and a welcome message in your own words.
- A link guests can save, so the details stay with them until the wedding day.
Options to consider
Personalisation has levels. Light personalisation changes names, dates and photos inside a ready design, and suits a tight timeline. Deep personalisation changes colours, wording, music and the order of events, and suits couples who want the invitation to feel fully theirs. A family edition can carry formal wording for elders, while a friends edition can be warmer and shorter. If you make two editions, keep the dates and venues identical in both, or confusion follows.
Style tips
Let the design carry the names, not compete with them. Use a clear, readable style for names and dates, even if decorative lettering appears elsewhere. Put the couple names largest, the wedding date next, and the venue where it cannot be missed. Avoid nicknames unless the whole guest list knows them. When two families have different customs for name order, ask both, and agree before the design is finished.
Guests may forget the design. They never forget whether their name was spelled right.
What you need
- Full names of the couple and both sets of parents, spelled correctly.
- Every event with date, time and venue, confirmed by both families.
- Photos you both like, in good light.
- A welcome line in your own words.
- Contact details for questions about travel or stay.
How to share it
- Check the invitation with both families before any wide sharing.
- Send to parents first, then close family, then the full list.
- If a correction is needed, fix it once and reshare with a short apology.
- Keep one final version only, so old versions stop circulating.
What it costs
MyIndiAura offers three clear options. A Cinematic Invite costs ₹499, an Invite App costs ₹399, and an Invitation Suite costs ₹99. Pick the one that matches how much you want the invitation to do, and pay only for that option. There are no struck through prices and no hidden extras in this list.
How to create yours
- Browse the designs and pick the style that fits your celebration.
- Add your names, dates, venue and event schedule.
- Add your photos and any message you want guests to read.
- Check every detail on a phone screen before you share it.
- Share your invitation link with your guests.
Create your digital invitation. Start with the designs, add your details, and share a finished invitation you are proud of.
Related reading
Found this useful? Share it with someone planning a celebration.
Share