Creative Wedding Welcome Board Ideas
The welcome board is the first thing guests see at the venue. It should greet them warmly, tell them they are in the right place, and set the mood in one glance.
In short
A welcome board has one job: greet guests and confirm they are in the right place.
Keep the text short. Names, a warm line, and the event are enough.
Match the board to the invitation, so guests feel continuity from phone to venue.
What it means
A wedding welcome board stands at the entrance of the venue and greets arriving guests. Traditionally it carried the couple's names and the event name. Today it can also carry a photo, a hashtag, a schedule highlight, or a personal message, but its core job has not changed: make guests feel expected and welcome.
Boards work best when they are readable from a distance. Guests arrive in groups, often in low light, and they glance rather than read. Large names, one warm line, and clear event details beat paragraphs of text or tiny decorative lettering every time.
What your invitation can do
- Echo the invitation design in the welcome board, so the celebration feels continuous.
- Carry the same palette and motif from the invitation to the board.
- Include the hashtag on the board, if the wedding has one, so guests see it on arrival.
- Share the invitation first, so guests already know the names and mood before they see the board.
Options to consider
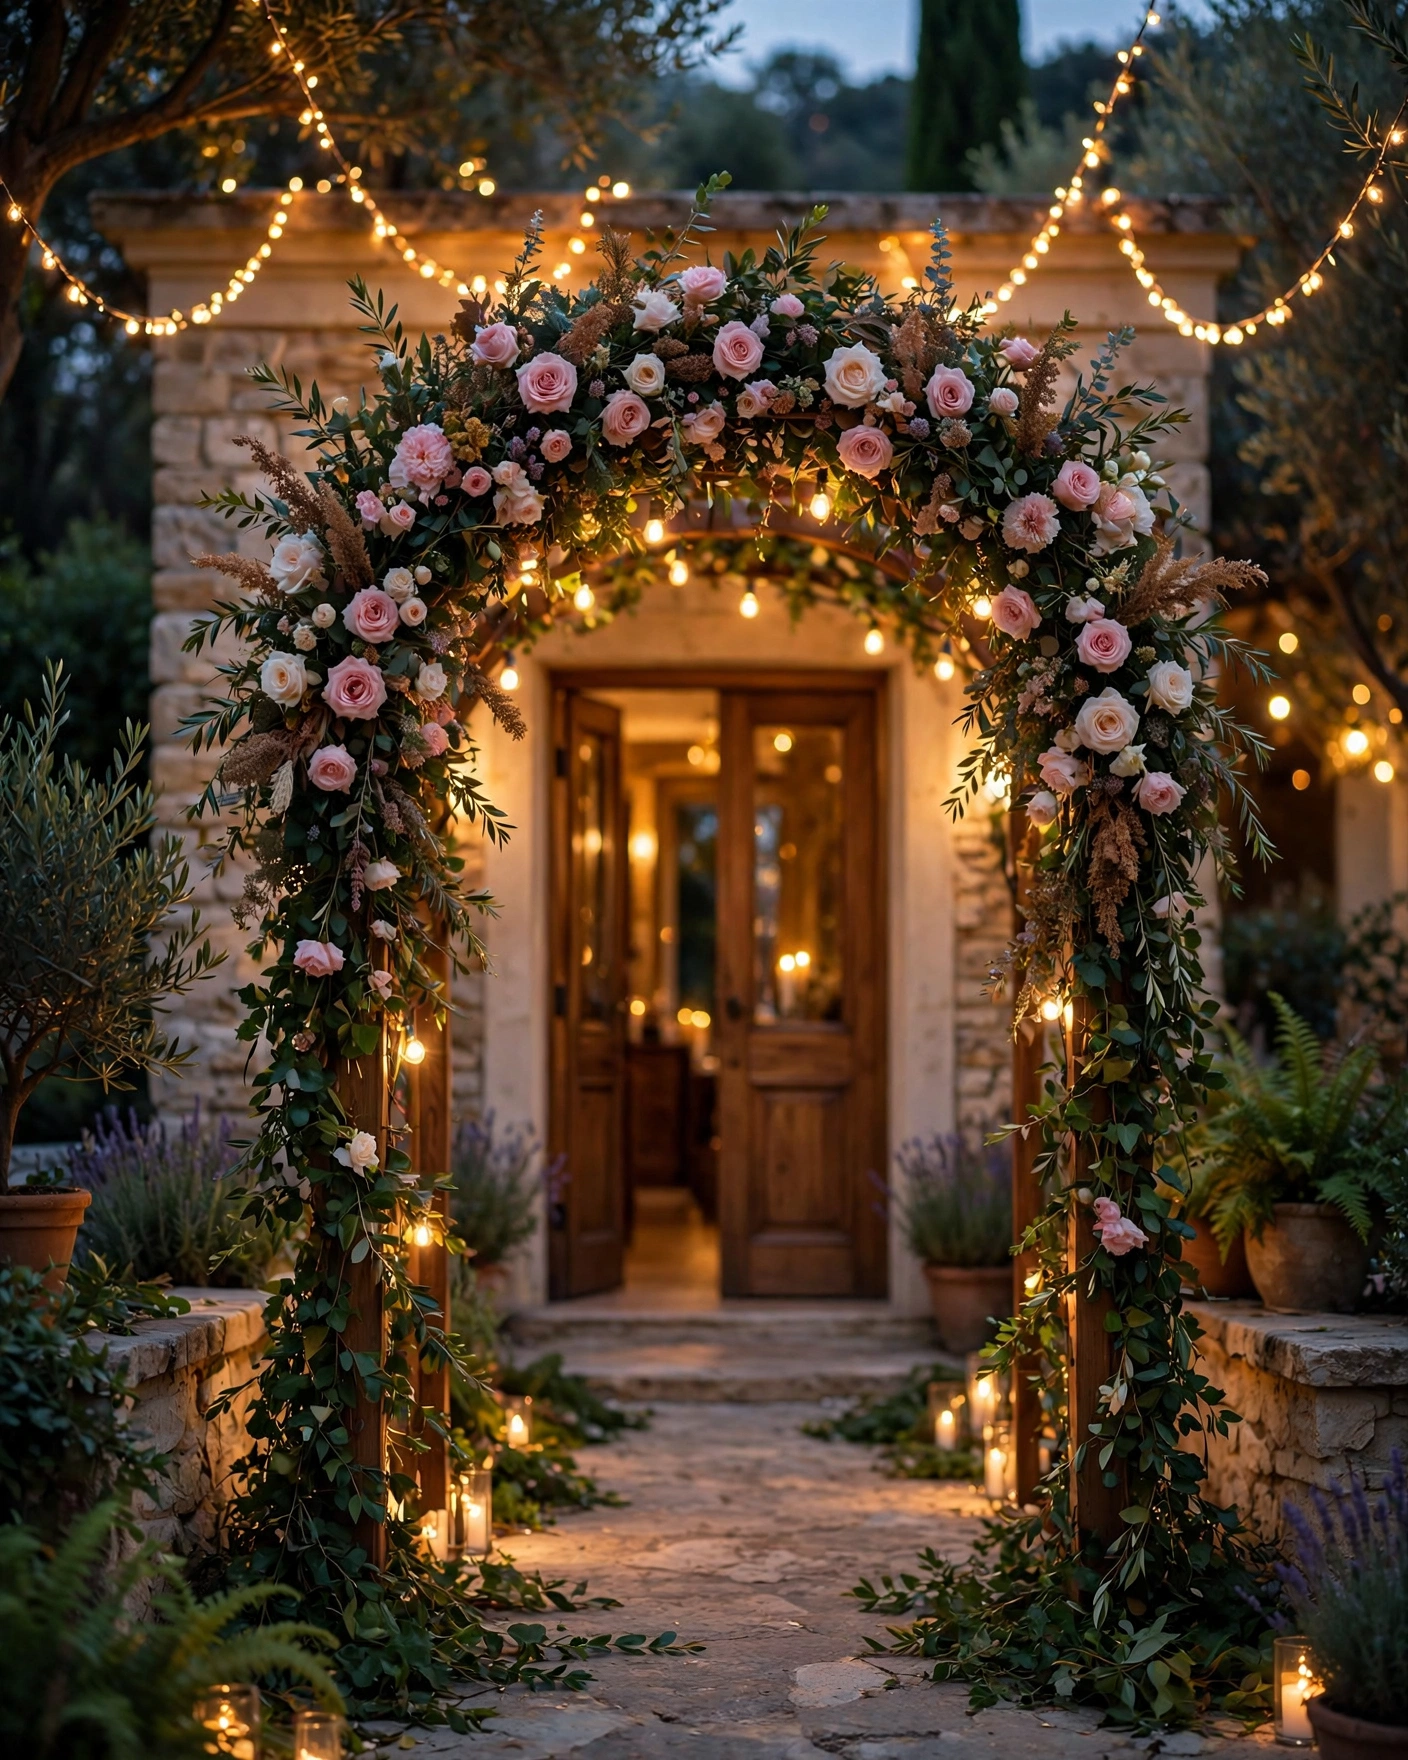
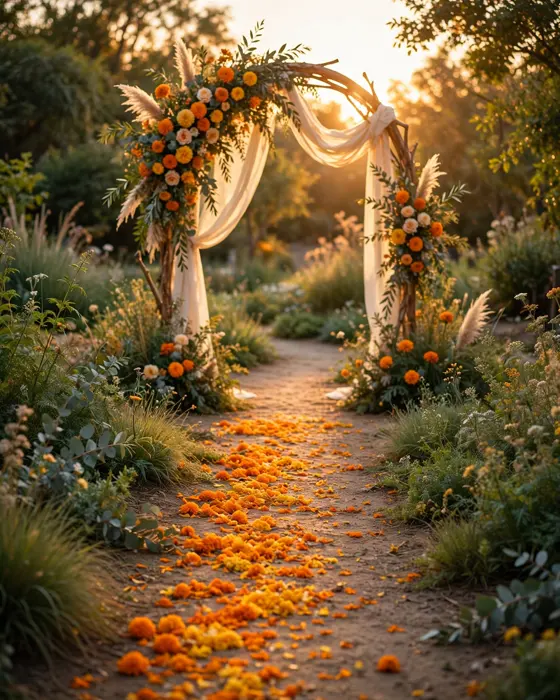
- Floral frame: fresh flowers around a simple board. Classic, fragrant, and photogenic.
- Mirror board: names written on a mirror with flowers at the base. Elegant for evening venues.
- Photo board: a favourite photo of the couple with names and a short welcome line.
- Chalk and wood: a rustic wooden board with hand lettering. Suits garden and daytime weddings.
- Digital screen: a screen showing names, photos, and the schedule. Easy to update across events.
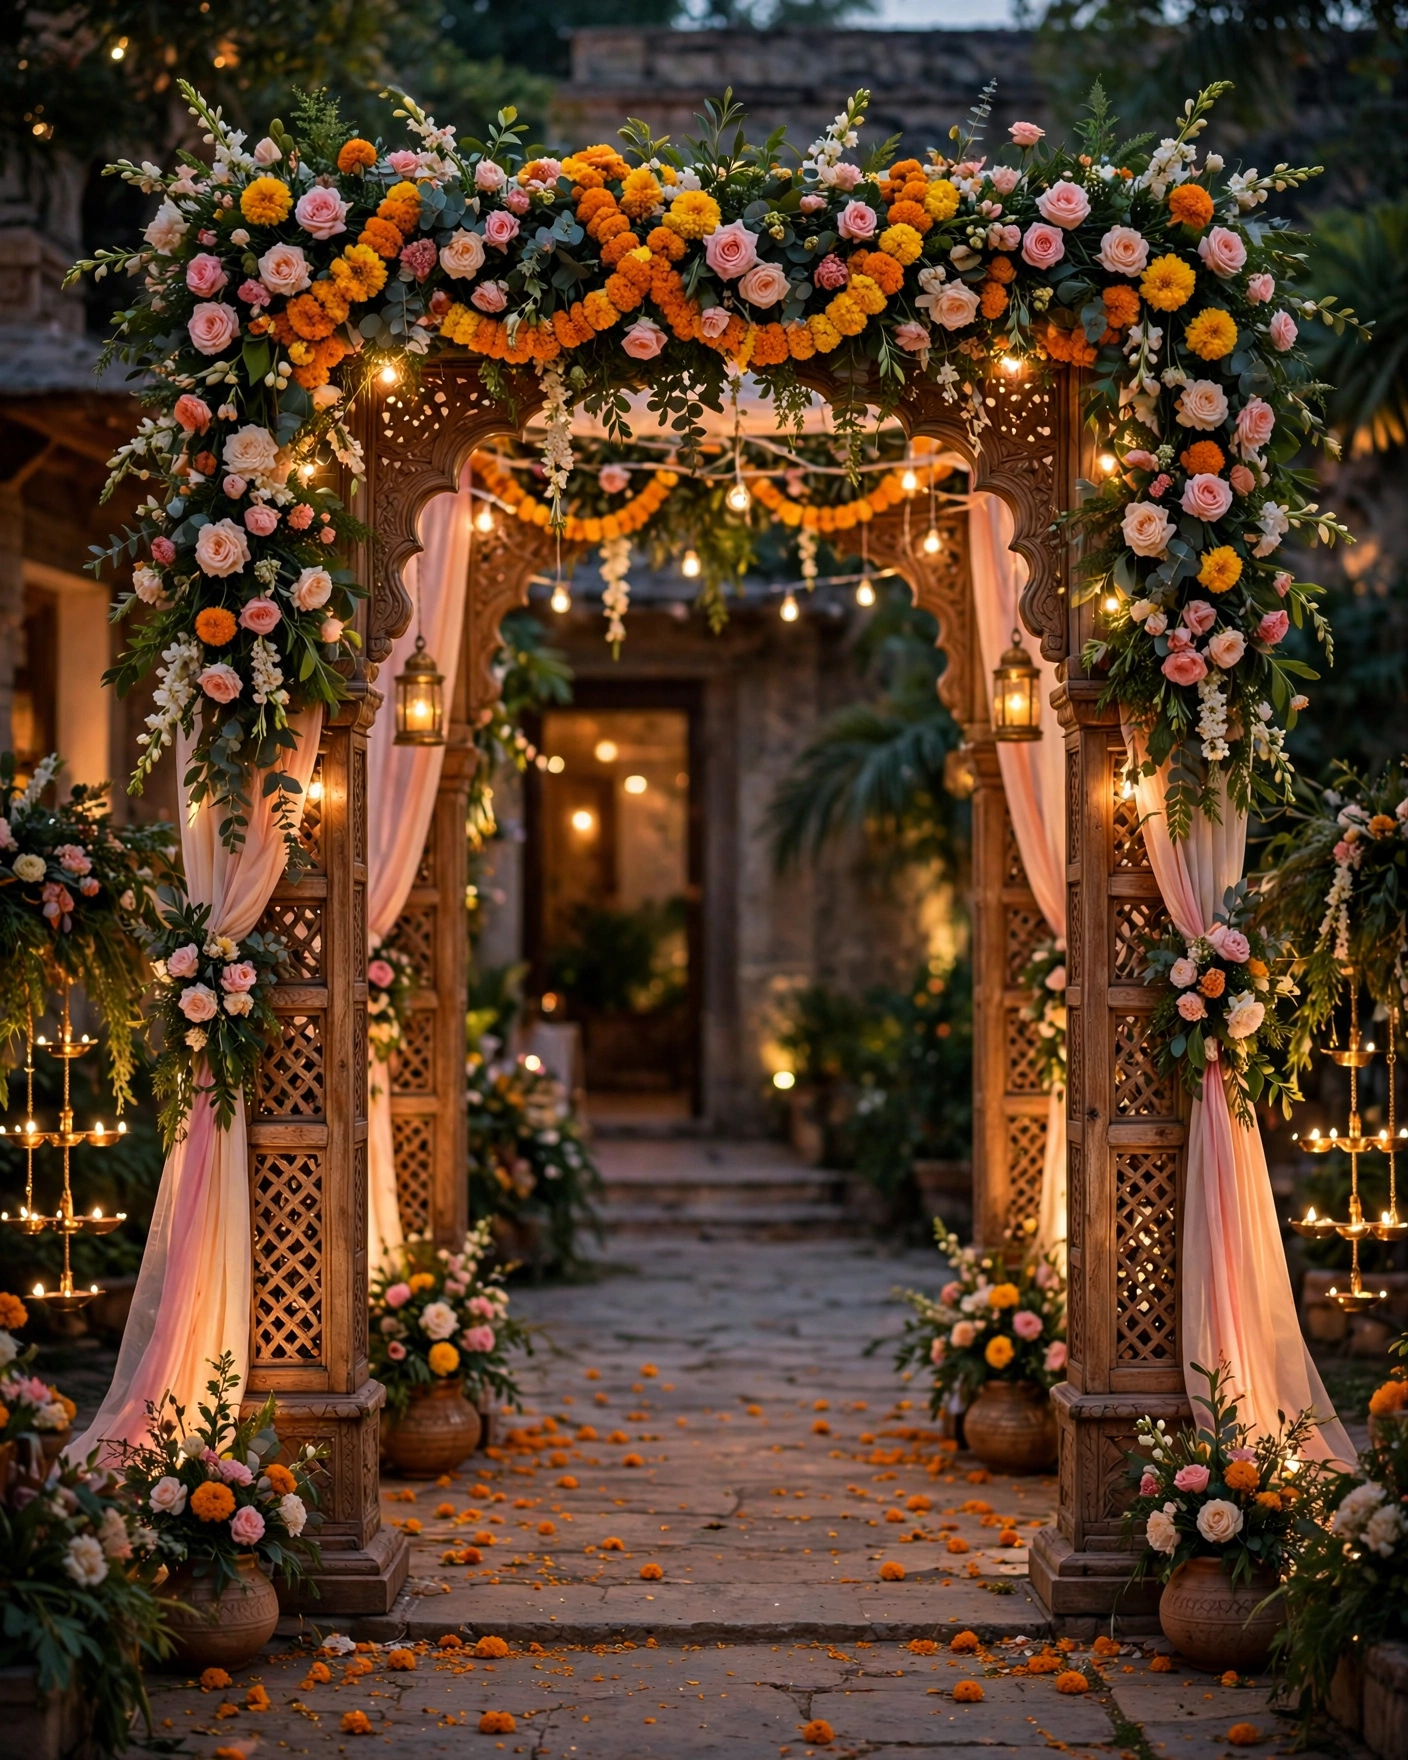
- Fabric and lights: draped fabric with fairy lights behind the names. Soft and romantic at dusk.
Style tips
Match the board to the venue's light. A dark board disappears in a dim entrance, and a light board glares in bright sun. Visit the entrance at the ceremony hour and check readability before finalising materials.
Also match the board to the invitation. When guests have seen the invitation's colours and motif, and then see the same on the board, the celebration feels designed rather than assembled. That continuity is the quiet mark of a well planned wedding.
Guests should feel welcomed before they are seated. The board does that work.
What you need
- The couple's names, spelled exactly as on the invitation.
- The event name and date, in large readable lettering.
- Palette and motif, matched to the invitation.
- Board size and placement, checked at the venue entrance.
- Flowers or lights, if the design uses them, ordered in season.
- A backup plan for rain, if the board stands outdoors.
How to share it
- Share the invitation before the wedding, so guests know the names and event in advance.
- Send it on WhatsApp, with venue details that match the board's location.
- Place the board where arriving guests cannot miss it, near the entrance.
- Photograph the board early, before crowds gather around it.
What it costs
When it comes to the invitation itself, MyIndiAura keeps the choice simple. A Cinematic Invite costs ₹499, an Invite App costs ₹399, and an Invitation Suite costs ₹99. Pick the format that fits how you want to share the day, and keep the rest of the budget for the celebration itself.
How to create yours
- Browse the invitation designs on MyIndiAura and shortlist the ones that match your theme.
- Pick your format, Cinematic Invite, Invite App, or Invitation Suite, based on how you want guests to receive it.
- Add your event details, names, dates, venues, and the full schedule of ceremonies.
- Add photos, music, and any personal touches that make the invitation feel like yours.
- Check every detail on your phone, then share the invitation with your guest list.
Explore wedding invitation designs. Browse the designs on MyIndiAura, pick the format that fits your celebration, and create your invitation.
Related reading
Found this useful? Share it with someone planning a celebration.
Share